
Japan eSIM QR Code Not Scanning? A Full Troubleshooting Guide
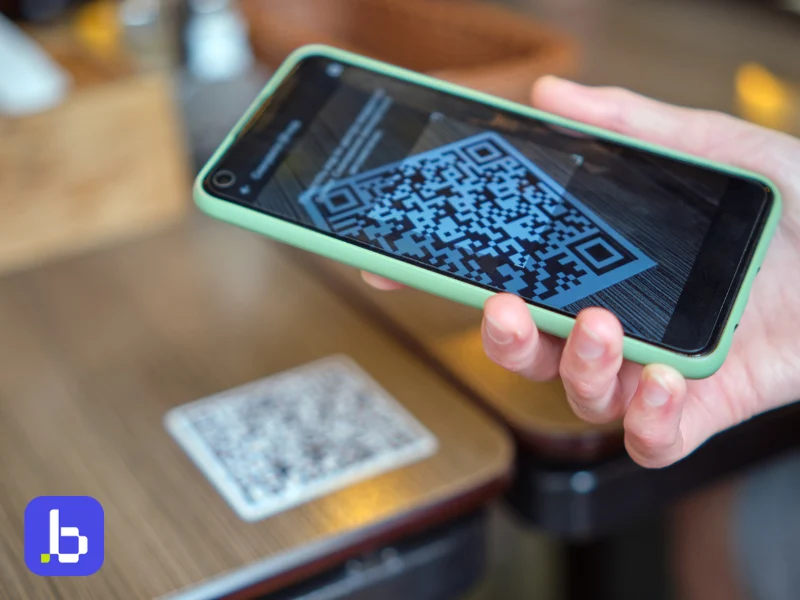
This Japan eSIM troubleshooting guide explains why your QR code may fail. It also shows you how to activate your eSIM manually if scanning does not work. You will also find iPhone and Android troubleshooting steps. Finally, we explain when you should contact Japan Sim Data support.
A typical Japan tourist SIM QR guide often assumes that every phone follows the same setup process. In reality, activation can vary by device, iOS or Android version, and carrier settings. The email or screen displaying your QR code can also affect the scanning process.
This Japan eSIM guide covers the most common problems travelers face. It explains how QR activation works, why scanning can fail, and how to activate your eSIM manually. You will also find separate troubleshooting tips for iPhone and Android. If you are preparing to leave or have already arrived in Japan, these steps can help you get connected.
How QR Code Activation Works
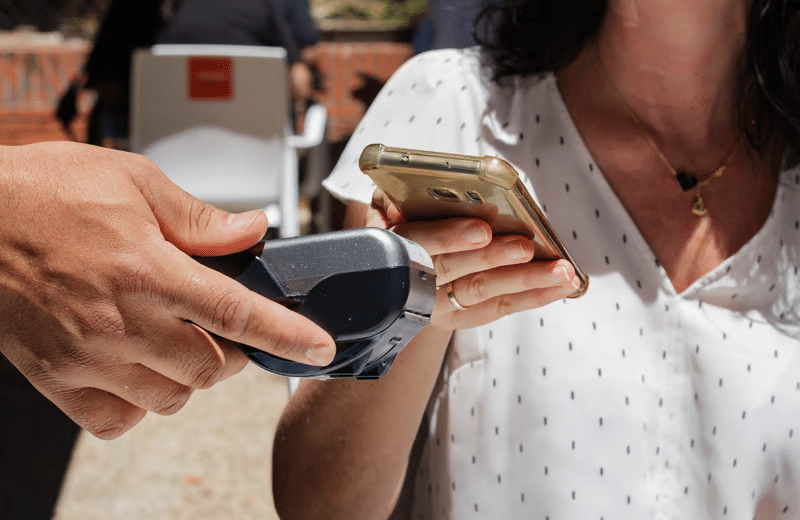
Before troubleshooting a Japan eSIM QR code, it helps to understand the normal activation process. An eSIM Japan QR code contains the information your phone needs to download an eSIM profile.
When you purchase a Japan Sim Data eSIM, you receive a unique QR code. The code contains activation information for your specific eSIM plan. You normally receive it by email.
You scan the code through your phone’s eSIM setup menu. Your phone then connects to the activation server and downloads the eSIM profile. You do not normally need a separate QR scanner app.
The process usually takes only a few minutes when you have a stable internet connection. Problems can occur at several stages. Your camera may not read the QR code. Your phone may not recognize the activation information. Your internet connection may also interrupt the download.
Knowing where the process fails can make troubleshooting much easier. If your phone cannot read the QR code, focus on the screen, camera, and image quality. If the phone reads the code but cannot download the eSIM, check your internet connection and eSIM settings.
Why the QR Code May Fail
Most Japan eSIM QR problems have a small number of common causes. Check these issues one by one before contacting support.
Screen brightness and glare
Are you scanning the QR code from another screen? Low brightness can make the code difficult for your camera to read. Glare can cause the same problem.
Increase the brightness of the screen displaying the QR code. Then place it somewhere without strong reflections. Keep the QR code clearly visible and try scanning again.
If possible, use the original QR code from your confirmation email. Avoid using a blurry photograph of the code.
Camera focus and distance
Camera focus can also prevent a Japan eSIM QR code from scanning.
Hold your phone about 15–20 cm from the QR code. Keep the phone directly in front of the code. Avoid holding it at a sharp angle.
Give the camera a moment to focus. Moving the phone slightly closer or farther away can also help.
Screenshot or PDF quality
A screenshot or PDF may reduce the quality of the QR code. This can make it harder for your camera to recognize the pattern.
Whenever possible, open the original email containing your eSIM QR code. Scan the original image instead of using a screenshot.
If you printed the QR code, make sure the print is clear and the entire code appears on the page.
Unstable internet connection
Scanning the QR code is only the first part of eSIM activation. Your phone also needs an internet connection to download the eSIM profile.
A weak or unstable connection can interrupt this process. You may think the QR code failed when the real problem occurred during the download.
Connect your phone to a reliable Wi-Fi network and try again. Avoid networks that require you to complete a login page before accessing the internet.
Hotel and airport Wi-Fi can sometimes use captive portals. These networks may not provide unrestricted internet access until you accept their terms or sign in.
If the QR code scanned successfully, you usually do not need to request a new code. First, connect to a stronger network and retry the installation.
QR code already used
Many eSIM QR codes are designed for one-time activation. If you already scanned the code, you may not be able to use it again.
This can happen if you installed the eSIM on another phone. It can also happen if an earlier installation attempt completed successfully.
Do not repeatedly scan the same code if your phone reports that it has already been used. Check whether the eSIM already appears in your phone’s cellular or SIM settings.
If you did not successfully install the eSIM, contact Japan Sim Data support for help.
Carrier network differences
Japan Sim Data eSIM plans may use networks such as NTT Docomo, SoftBank, or KDDI/au, depending on the plan.
However, the carrier network normally does not determine whether your camera can read the QR code. A Docomo-based, SoftBank-based, or KDDI/au-based eSIM still uses the standard eSIM activation process.
If the QR code will not scan, check your phone, the QR image, and your internet connection first.
Manual Activation as a Fallback
If QR scanning still fails, manual activation provides another option. You can enter the eSIM activation information directly into your phone.
Manual activation does not require your camera to read the QR code. It uses the same activation information contained in the QR code.
Find your manual activation details
Your eSIM provider may provide an SM-DP+ address and activation code alongside the QR code. Japan Sim Data may include these details in your confirmation email.
Check the original purchase email carefully. Look below or beside the QR code for the manual activation information.
If you cannot find the email, check your spam, junk, or promotions folder. Email providers sometimes move automated purchase confirmations into these folders.
Enter the details manually
Both iPhone and many Android phones support manual eSIM activation.
Open your phone’s eSIM or mobile data settings. Look for an option such as “Enter Details Manually.” The exact wording can vary between devices and software versions.
Enter the SM-DP+ address and activation code exactly as provided.
Manual activation uses the same eSIM profile as QR activation. The main difference is how you provide the activation information to your phone.
Check every character carefully
Manual entry requires accuracy. One incorrect character can cause the activation to fail.
Copy and paste the details directly from your confirmation email when possible. Avoid typing them from memory.
If you must enter the information from a printed document, check characters carefully. Pay particular attention to characters such as 0 and O or 1 and l.
iPhone-Specific QR Issues
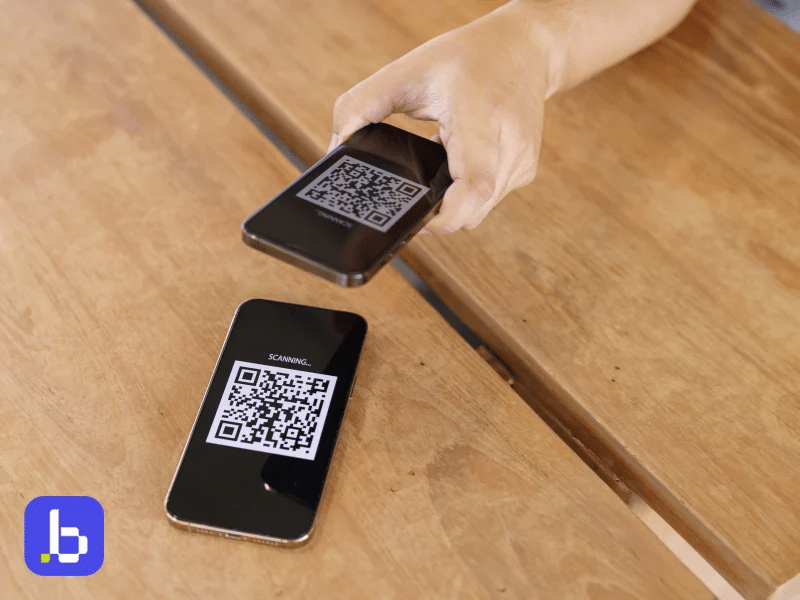
A japan esim iphone qr activation generally follows a consistent path, but a few iPhone-specific quirks are worth knowing.
- Settings location varies slightly by iOS version: eSIM setup is generally found under Settings > Cellular > Add eSIM, though the exact wording has shifted slightly across iOS versions, so it’s worth looking for “Add Cellular Plan” or similar phrasing if “Add eSIM” isn’t immediately visible.
- Camera app vs. Settings scanner: iPhones generally expect QR scanning to happen through the Settings app’s built-in scanner during eSIM setup, not through the general Camera app. Scanning with the Camera app first and expecting it to prompt an eSIM install doesn’t always trigger correctly, depending on iOS version.
- Carrier lock restrictions: If your iPhone was purchased through a carrier installment plan, particularly in some regions, it may block eSIM installation entirely regardless of QR code quality, which is worth ruling out separately from a scanning issue.
- Existing eSIM conflicts: If your iPhone already has multiple eSIM profiles installed, occasionally a new installation can behave unexpectedly. Removing an old, unused eSIM profile before installing a new one can resolve installation issues that aren’t obviously related to the QR code itself.
- iOS version and storage space: An outdated iOS version can occasionally cause unexpected behavior in the eSIM setup flow, so checking for and installing pending iOS updates before troubleshooting further is a reasonable step, along with confirming your device has adequate free storage, since a nearly-full device can sometimes interfere with system-level installations like this one.
Android-Specific QR Issues
A japan esim android qr activation varies somewhat more than iPhone, since eSIM setup flows differ across Android manufacturers and versions.
- Menu location differs by manufacturer: Samsung, Google Pixel, and other Android brands each place eSIM setup in slightly different menu locations, generally under Settings > Network & Internet > SIMs, or a similar path, though exact wording varies.
- Manufacturer-specific eSIM support: Not all Android devices support eSIM, even among relatively recent models, and support can vary by region even for the same phone model. Confirming your specific device and region combination supports eSIM before troubleshooting a scan failure saves time ruling out a compatibility issue.
- Camera app scanning inconsistency: Some Android phones allow scanning through the general Camera app with automatic eSIM detection, while others require going through the dedicated eSIM setup flow in Settings first. If scanning through the Camera app doesn’t trigger an installation prompt, navigating directly to the eSIM setup screen in Settings and scanning from there often resolves it.
- Google Play Services updates: On some Android devices, outdated Google Play Services can interfere with eSIM installation. Checking for and installing any pending system or Google Play Services updates before attempting activation again is worth trying if other steps haven’t resolved the issue. A simple device restart after applying updates, before attempting activation once more, also clears up a surprising number of lingering installation glitches.
When to Contact Japan Sim Data Support
Most japan esim install issue cases resolve through the steps above, but a few situations genuinely warrant reaching out to support directly. A japan esim setup problem that persists after trying both scanning and manual entry is exactly the kind of japan esim technical qr issue support teams are equipped to resolve quickly, since they can see account and code status directly rather than troubleshooting blind.
- The QR code shows as already redeemed: If manual activation also fails with a message indicating the code has already been used, and you haven’t successfully activated it yourself, this needs support to issue a fresh activation.
- Confirmed eSIM-compatible device still fails both methods: If you’ve confirmed your specific device model supports eSIM, tried both QR scanning and manual entry carefully, and neither works, this likely points to an account or plan-specific issue rather than a device problem.
- Error messages referencing your account or plan status: Any error mentioning your specific plan, account, or payment status (rather than a generic scanning or network error) should go straight to support rather than continued troubleshooting.
- You’re already in Japan and need it resolved quickly: If you’ve landed and still can’t get connected after trying the fallback options above, contacting support directly is faster than continuing to troubleshoot alone, especially if you have access to any Wi-Fi (hotel, airport, or a friend’s hotspot) to reach them.
When contacting support, having your order confirmation email, your device model, and a description of exactly which step fails (QR scan, manual entry, or the download itself) ready in advance speeds up resolution considerably compared to a general “it’s not working” description. A specific description also helps support distinguish quickly between a code-side issue they can fix immediately and a device-side issue that might need a different troubleshooting path entirely.
Frequently Asked Questions
Q1: Why won’t my Japan eSIM QR code scan at all?
A: The most common causes are screen glare or low brightness when scanning from another screen, camera distance or angle issues, or a low-resolution screenshot or PDF version of the code rather than the original email.
Q2: Can I activate a Japan eSIM without scanning a QR code?
A: Yes. Manual activation using the SM-DP+ address and activation code, typically included alongside the QR code in your confirmation email, works as a reliable fallback on both iPhone and Android.
Q3: My QR code says it’s already been used. What do I do?
A: eSIM QR codes are generally single-use. If you haven’t successfully activated it yourself, contact support so they can issue a fresh activation code.
Q4: Does my phone need to be unlocked to install a Japan eSIM?
A: In many cases, yes, particularly for phones purchased through carrier installment plans, which can block eSIM installation entirely regardless of QR code quality.
Q5: When should I contact support instead of continuing to troubleshoot?
A: If manual entry also fails, if an error references your account or plan status specifically, or if you’ve confirmed your device is eSIM-compatible but both scanning and manual entry still fail, it’s time to contact support directly.
Conclusion
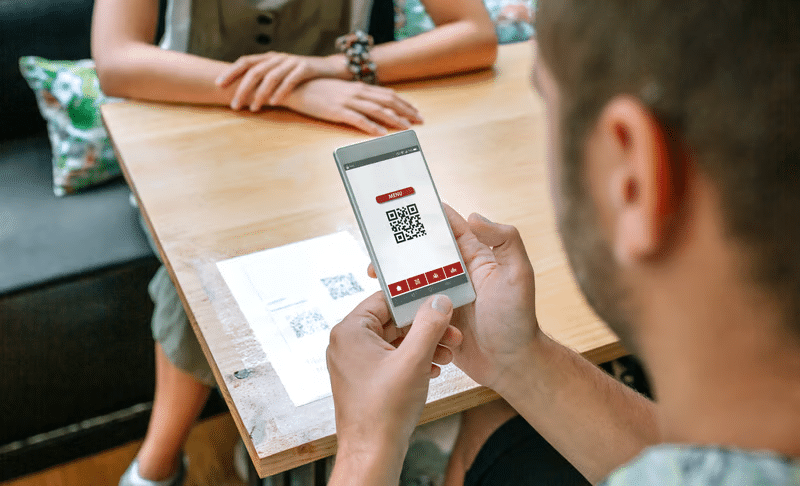
A Japan eSIM QR code not scanning is almost always fixable without needing to contact support at all: check screen brightness and camera distance, confirm you’re viewing the original email rather than a screenshot, and try manual activation using the SM-DP+ address and activation code if scanning still doesn’t work. Device-specific quirks on iPhone and Android account for most of the remaining cases, and working through them in order usually resolves the issue within a few minutes, regardless of which of Japan’s three carrier networks your specific plan happens to use.
For the genuine edge cases — an already-redeemed code, an account-specific error, or a confirmed compatible device that still won’t activate through either method — Japan Sim Data support is ready to help, and having your order details and device model on hand speeds up that process considerably. Reliable japan tourist connectivity qr activation shouldn’t require technical expertise, and in the vast majority of cases, it doesn’t — the steps above resolve nearly every scanning issue without needing to contact anyone. Whether you’re troubleshooting the night before your trip or standing in the arrivals hall at Narita or Kansai, getting connected is usually just a few careful steps away.
If you’re currently stuck on a QR code that won’t scan, work through the steps above in order before reaching out — most travelers find their fix in the first few minutes of troubleshooting, well before their next train or check-in time arrives.