

Japan Backpacker eSIM Guide: Budget Data for Long-Term Trips
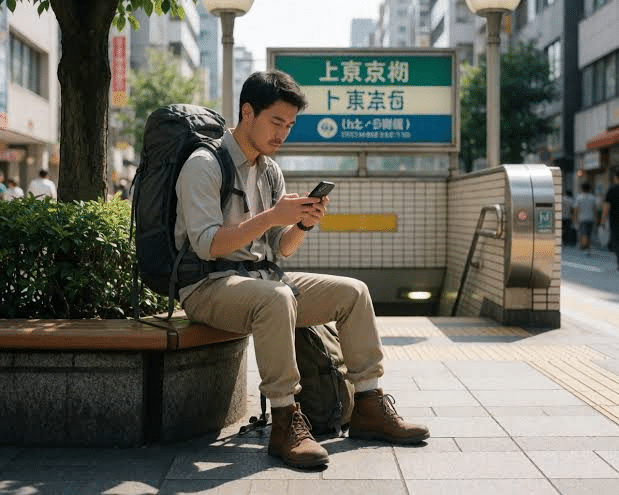
Backpacking through Japan on a tight budget means every yen counts. Mobile connectivity is no exception. A well-chosen Japan backpacker eSIM helps you plan routes, book hostels, and stay in touch with fellow travelers. It also leaves more money for ramen, accommodation, and train tickets.
Long backpacking trips need a different data strategy from short holidays. You may need connectivity for several weeks or months, with options to renew or top up along the way.
Choosing the right Japan eSIM for a long trip can save money and reduce hassle. Look for affordable data, a suitable validity period, and reliable coverage beyond major tourist cities.
This guide explains how to compare Japan Sim Data plans, choose a network, manage data usage, and plan connectivity for a multi-country backpacking adventure.
1. Budget-Friendly Japan Sim Data Options
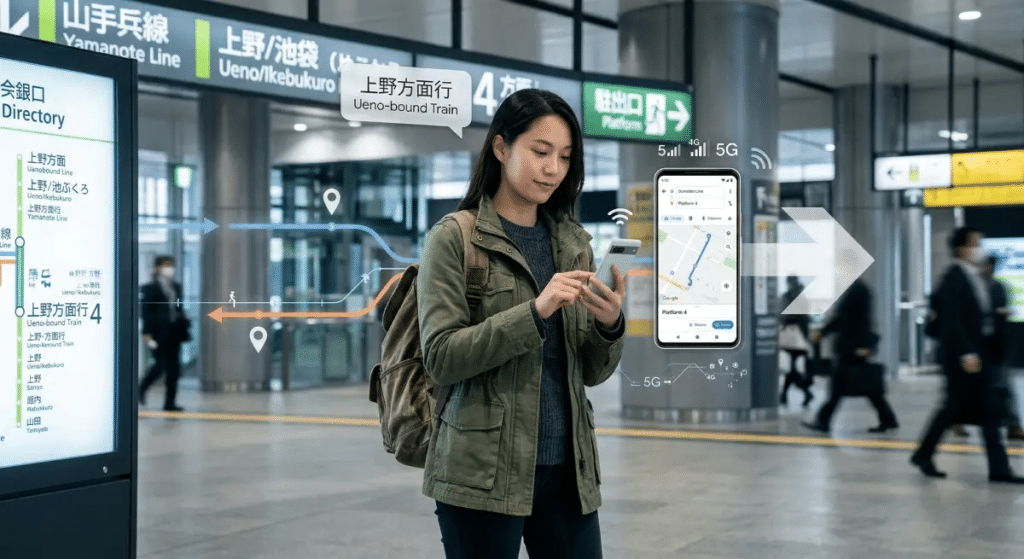
The cheapest eSIM is not always the best value. Backpackers should compare the total cost of staying connected throughout the trip.
A low-cost plan may work well for light users. However, frequent top-ups can make it more expensive over time. Consider your daily habits and how long you expect to stay in Japan.
Match the Data Plan to Your Habits
A budget Japan eSIM should match your actual data needs. Backpackers often use mobile data for maps, transport schedules, hostel reservations, translation, and messaging.
If you use these apps throughout the day, the smallest data package may not be enough. A slightly larger plan could offer better value than buying extra data repeatedly.
Before choosing a plan, consider how often you will use Wi-Fi. Also think about whether you stream videos, upload photos, or make video calls while traveling.
Compare Cost Per Day and Cost Per Gigabyte
Long-term travelers should compare plans using two simple measures:
- Cost per day: Divide the plan price by the number of days it covers.
- Cost per gigabyte: Divide the price by the included data allowance.
These calculations help you compare different packages more fairly. However, check the validity period and data restrictions too. A low cost per gigabyte is less useful if the plan expires before you finish using the data.
For a trip lasting several weeks, a longer-validity plan may offer better value than repeatedly purchasing short plans.
Check for Extra Charges and Restrictions
Read the plan terms before buying. Some packages have speed restrictions after you reach a particular data threshold. Others may require a separate purchase when your allowance runs out.
Check whether the plan supports top-ups, how long the data remains valid, and whether it limits tethering. These details matter when you rely on mobile data for daily travel arrangements.
A cheap Japan tourist SIM may suit a short holiday but prove less convenient for a multi-month trip. Comparing the full cost in advance can help prevent unexpected expenses.
Calculate Your Daily Connectivity Budget
A simple calculation can help you stay within your travel budget. Divide the total plan cost by the number of days you expect to use it.
Then compare that daily cost with other available plans. Repeat the calculation for different data allowances and validity periods.
This approach makes it easier to see whether a larger plan offers better value. It also helps you estimate connectivity costs alongside hostel fees, meals, and transport.
2. Choosing a Network for Hostels and Rural Travel
Backpacking often involves more than Tokyo, Osaka, and Kyoto. You might visit mountain towns, smaller islands, rural villages, or destinations that receive fewer international visitors.
Network coverage therefore matters. Consider where you plan to travel, not just the signal available in major cities.
Use Mobile Data as a Hostel Wi-Fi Backup
Many hostels provide shared Wi-Fi. However, speeds can drop when numerous guests connect at the same time.
Your Japan eSIM can provide a useful backup for time-sensitive tasks. You can confirm a reservation, check a train departure, or contact your next accommodation without relying entirely on shared Wi-Fi.
This is especially helpful during busy evening hours. Travelers often use the internet at the same time to plan the next day or message family.
Download large files and entertainment over Wi-Fi whenever possible. That way, you can save your mobile data for when you need it most.
Consider Coverage Beyond Major Cities
Japan has several major mobile networks, including NTT Docomo, SoftBank, and KDDI/au. Their coverage varies by location, and the network available to you depends on your eSIM plan.
Docomo is worth considering for trips that include rural and mountainous areas. SoftBank and KDDI/au also provide extensive coverage in many cities and regional destinations.
However, no network guarantees a signal everywhere. Mountains, remote trails, islands, and some buildings can affect reception.
Before purchasing an eSIM, check its supported network and review coverage for your planned destinations.
Understand Multi-Network eSIMs
Some eSIM products support access to more than one network. Others connect through a specific network or roaming partner.
Do not assume that every multi-network eSIM automatically switches to the strongest signal. Check the provider’s product details to understand how network selection works.
For backpackers covering different regions, this detail can influence the experience. Choose a plan that matches your route and offers suitable coverage for the places you intend to visit.
3. Planning an eSIM for Multi-Country Backpacking
Many travelers visit Japan as part of a longer Asian adventure. If your itinerary includes several countries, plan your connectivity before leaving home.
You can choose a separate eSIM for each country or consider a regional plan that covers multiple destinations.
Separate eSIMs or a Regional Plan?
A dedicated Japan eSIM gives you a plan specifically designed for use in Japan. A regional eSIM may cover Japan and other countries under one package.
Compare both options before making a decision. Check the total price, data allowance, validity period, supported networks, and list of covered countries.
A regional plan may offer convenience when you cross borders frequently. Separate country-specific plans may be more suitable when you want to choose different allowances for each destination.
The best option depends on your route and how much data you expect to use in each country.
Plan Your Activation Date
Buying an eSIM before departure can help you prepare for arrival. However, installation and activation do not always happen at the same time.
Some plans begin their validity period when you install the eSIM. Others start when the eSIM first connects to a supported network or when you activate it.
Read the provider’s instructions carefully. If activation starts the validity period, make sure the timing matches your travel dates.
This is particularly important when your arrival date in Japan may change because of delays or changes to an earlier part of your trip.
Keep Track of Your eSIM Profiles
Long trips can involve several eSIM profiles. Without a simple record, it can be difficult to remember which plan belongs to each country.
Keep a note of the following details:
- Country or region covered
- Data allowance
- Purchase and activation dates
- Expiry date
- Top-up or renewal instructions
Store the information somewhere you can access offline. Update it whenever you activate a new plan or cross a border.
4. How to Make Your Japan eSIM Data Last Longer

Stretching a fixed data allowance across a long trip takes some deliberate habits, especially for backpackers watching every expense closely.
- Download offline maps in advance: Google Maps and similar apps let you download offline map areas over hostel Wi-Fi, drastically cutting mobile data use for daily navigation between towns.
- Use messaging apps over voice calls: Text-based messaging apps use a fraction of the data that voice or video calls consume, making them the more budget-friendly default for staying in touch on the road.
- Save streaming for Wi-Fi: Save any video or music streaming for moments connected to hostel or café Wi-Fi, reserving mobile data for tasks that actually require it while moving.
- Monitor usage through your phone’s built-in tracker: Most phones include a built-in data usage tracker, which is worth checking every few days on a long trip to catch unexpectedly heavy usage before it becomes a real problem.
- Set a personal daily budget: Estimating a rough daily data allowance for your entire trip and checking against it periodically helps prevent a fast start from leaving you short on data during the final stretch.
- Preload entertainment for long transit days: Long bus or train rides between cities are a common cause of unplanned data spikes if you’re streaming rather than watching something downloaded in advance during a Wi-Fi-connected evening.
For a japan esim explorer covering multiple regions over weeks or months, these small habits collectively make a noticeable difference in how far a single data plan actually stretches. None of these habits require much effort individually, but combined over a multi-week trip, they can meaningfully extend a fixed data allowance or reduce how often you need to pay for a top-up.
Best Japan Sim Data Plans for Backpackers
For a japan esim gap year or extended shoestring trip, matching the plan to your actual trip length and travel style keeps costs predictable without sacrificing reliability. Anyone searching for an esim for backpacker japan setup should start with trip length and travel pace, since those two factors drive plan choice far more than any single feature comparison.
- Short backpacking loops (1-3 weeks): A moderate Plan tier balancing cost and coverage for a fairly active, multi-city itinerary.
- Extended trips (1-3 months): An Unlimited-tier eSIM, or a larger Plan tier with easy top-up access, given how quickly navigation, messaging, and booking apps add up across months of continuous travel.
- Japan esim overland travelers: Backpackers moving primarily by train or bus between cities and rural areas benefit from multi-carrier coverage, since overland routes often pass through areas where one network is noticeably stronger than another.
- Budget-first travelers: A lower Plan tier paired with disciplined use of hostel and café Wi-Fi, following the data-saving habits above, keeps costs to an absolute minimum for travelers on a genuinely tight shoestring budget.
- Travelers with an uncertain end date: If your trip length is flexible or open-ended, a plan with straightforward, low-cost renewal matters more than upfront price, since you may end up extending several times before heading home.
Japan Sim Data eSIMs run across NTT Docomo, SoftBank, and KDDI/au networks, giving backpackers reliable japan backpacker connectivity whether navigating central Tokyo, a quiet hostel town in the countryside, or a remote hiking trail well outside the usual tourist circuit. A docomo backpacker plan, a softbank budget traveler option, or a kddi backpacker japan setup all deliver comparable coverage in practice, so choosing the right data tier and validity length for your actual trip matters more than the specific carrier. For a genuine japan tourist connectivity backpacker experience — one built around slow travel, frequent moves, and a tight budget — matching plan flexibility to your real itinerary is what keeps costs under control over weeks or months on the road.
This kind of japan esim slow travel approach, moving deliberately between fewer places for longer stretches, also tends to be gentler on both budget and data usage than a fast-paced, city-hopping itinerary. Staying in one region for several days rather than constantly relocating means less time spent on maps and route research, and more predictable daily data patterns that are easier to plan a budget around.
For backpackers researching Japan’s general tourism and travel resources, the Japan National Tourism Organization offers useful destination information worth reviewing alongside your connectivity planning, particularly for lesser-known regions that don’t always show up in typical backpacker itineraries but can offer some of the best value and quietest experiences of the whole trip.
Frequently Asked Questions
Q1: What’s the cheapest way to get reliable data for a long backpacking trip in Japan?
A: Comparing plans by cost per day rather than just cost per gigabyte usually gives a clearer picture for long trips, and combining a moderate data plan with disciplined use of hostel Wi-Fi keeps costs to a minimum.
Q2: Which carrier has the best coverage for rural areas in Japan?
A: NTT Docomo generally offers the strongest coverage in rural and mountainous areas, though SoftBank and KDDI/au both perform well in cities and most secondary towns.
Q3: Should I use one eSIM across multiple countries on a regional backpacking trip?
A: Generally no. A dedicated eSIM for each country, activated only when you arrive, tends to work out more cost-effective and reliable than stretching one regional plan across different networks.
Q4: How can I make a fixed data plan last longer on a long trip?
A: Download offline maps in advance, use messaging apps instead of calls, save streaming for Wi-Fi, and check your phone’s built-in data usage tracker every few days to catch unexpected spikes early.
Q5: Is hostel Wi-Fi reliable enough to reduce how much data I need?
A: It helps, but hostel Wi-Fi can slow down significantly during busy hours, so it’s best treated as a supplement to your eSIM rather than a full replacement, especially for anything time-sensitive.
Conclusion

Getting connectivity right for a long backpacking trip in Japan comes down to a few core decisions: choosing a data tier based on realistic usage rather than the cheapest headline price, picking multi-carrier coverage for rural and overland travel, planning eSIM activation carefully around a multi-country itinerary, and building simple data-saving habits into your daily routine. Get these right, and connectivity becomes one less thing to worry about while you focus on the trip itself, the people you meet, and the places you find along the way.
It’s worth remembering that a backpacking budget rarely has room for surprise costs, and a data plan that runs out mid-trip in an unfamiliar rural town is exactly the kind of surprise worth avoiding. A little upfront comparison — cost per day, network reliability outside major cities, and how easily a plan can be extended — pays for itself many times over across a trip that might last months rather than days. Treat this planning the same way you’d treat researching hostel prices or transport passes before departure: a small time investment that protects the rest of your budget.
Japan Sim Data’s Day Pass, Plan, and Unlimited eSIM options across Docomo, SoftBank, and KDDI/au networks are built to flex around exactly this kind of long-term, budget-conscious travel, whether you’re on a focused three-week loop or a genuine gap-year adventure. Matching your plan to your real trip length and travel style, rather than defaulting to whatever felt safest at the start, is what keeps your budget — and your connection — intact from the first hostel to the last.
Before you set off, take a few minutes to map out your rough itinerary and estimate how long you’ll actually need coverage for — a small step that keeps your data budget as tight and well-planned as the rest of your trip.